

You only replace your floors a few times in a lifetime, so it’s normal to feel unsure about where to start. Between choosing materials, scheduling installers, and living through the work, a flooring project can feel bigger than it really is. A clear timeline makes the whole process calmer and more predictable.
Below is a realistic, first-time–friendly roadmap, with a focus on laminate and hardwood, from early research to that first walk across your new floor.
Step 1: Define Your Needs and Budget (Week 1)
Begin by walking through your home and listing where you want new flooring, how each room is used, and what you dislike about what’s there now. High-traffic spaces, pets, and kids all influence which materials will hold up best.
Next, set a comfortable budget range rather than a single number. Include:
- Material cost, installation, removal of old flooring, floor prep, and small extras like trim or transitions
If you want the look of wood with more scratch and moisture resistance, exploring a curated laminate flooring catalog can help you see how far your budget will go in different styles and thicknesses.
Step 2: Compare Laminate and Hardwood Options (Week 1–2)
Once you know what you can spend, it’s time to decide between laminate and solid or engineered wood. Laminate typically offers better value and easier maintenance, while hardwood provides a timeless surface you can refinish down the road.
Pay attention to a few key details as you compare:
- Thickness and wear layer for laminate
- Species, finish, and installation method for wood
- Warranty terms and recommended rooms
If you’re leaning toward a classic wood look, browsing a broad hardwood collection by species and finish can clarify how different grains and colors will feel in your space. Seeing these details side by side makes it easier to match your lifestyle to the right product family.
Step 3: See Samples and Confirm the Scope (Week 2–3)
Online photos are helpful, but they can’t show how a floor will react to your lighting, wall colors, and furniture. This is the point where seeing full-size boards or larger sample pieces in person really matters, especially for first-time projects.
Visiting dedicated Upland showrooms lets you compare tones, textures, and plank sizes under real lighting, then take samples home for a few days. While you’re there, you can also talk through details like staircases, transitions into tile or carpet, and whether baseboards will stay or come off during installation.
Once you’ve narrowed your choices, schedule an in-home measure. That visit confirms square footage, checks subfloor conditions, and surfaces any issues—like moisture or uneven slabs—that could affect timelines or material selection.
Step 4: Schedule Installation and Prepare Your Home (Week 3–6)
After measurements and final product selection, your installer can provide a detailed proposal with timing. Lead times vary based on material availability and the size of the job, but most standard laminate or hardwood projects fall within a window of a few days to a week once work starts.
Use the time before installation to:
- Clear small items and personal belongings from the work areas
- Decide whether you’ll move large furniture yourself or have the crew handle it
- Plan where pets and family members will stay while tools and adhesives are in use
Looking through a completed project gallery can be reassuring at this stage, because you see how similar homes handled transitions, stairs, and room-to-room changes in color or plank direction.
Step 5: Installation, Walk-Through, and Aftercare (Installation Week)
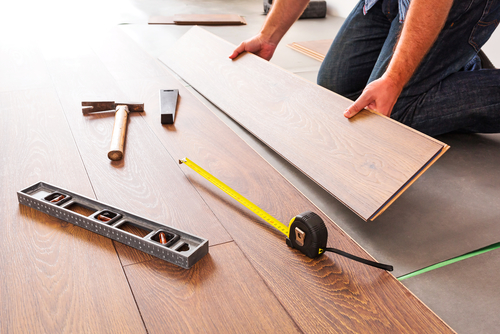
On installation day, expect some noise, dust control measures, and limited access to certain rooms. Crews will remove existing flooring, prepare the subfloor, lay underlayment if needed, install the new planks, then finish with baseboards or shoe molding.
Before the team leaves, do a slow walk-through. Look for:
- Consistent plank spacing and tight seams
- Smooth transitions between rooms
- Clean cuts around doorways, cabinets, and vents
Ask about cleaning products, when to move furniture back, and how to handle humidity changes—especially with hardwood. A careful first cleaning and felt pads under furniture go a long way toward protecting your new surface.
Ready to Map Out Your Own Timeline?
Planning your first flooring project is much easier when you break it into clear stages: define needs, compare options, see samples, schedule, and then protect your investment with good aftercare. When you’re ready to see how this timeline would look in your own home, you can request a free estimate and we’ll walk you through each step, from product selection to final inspection.


