

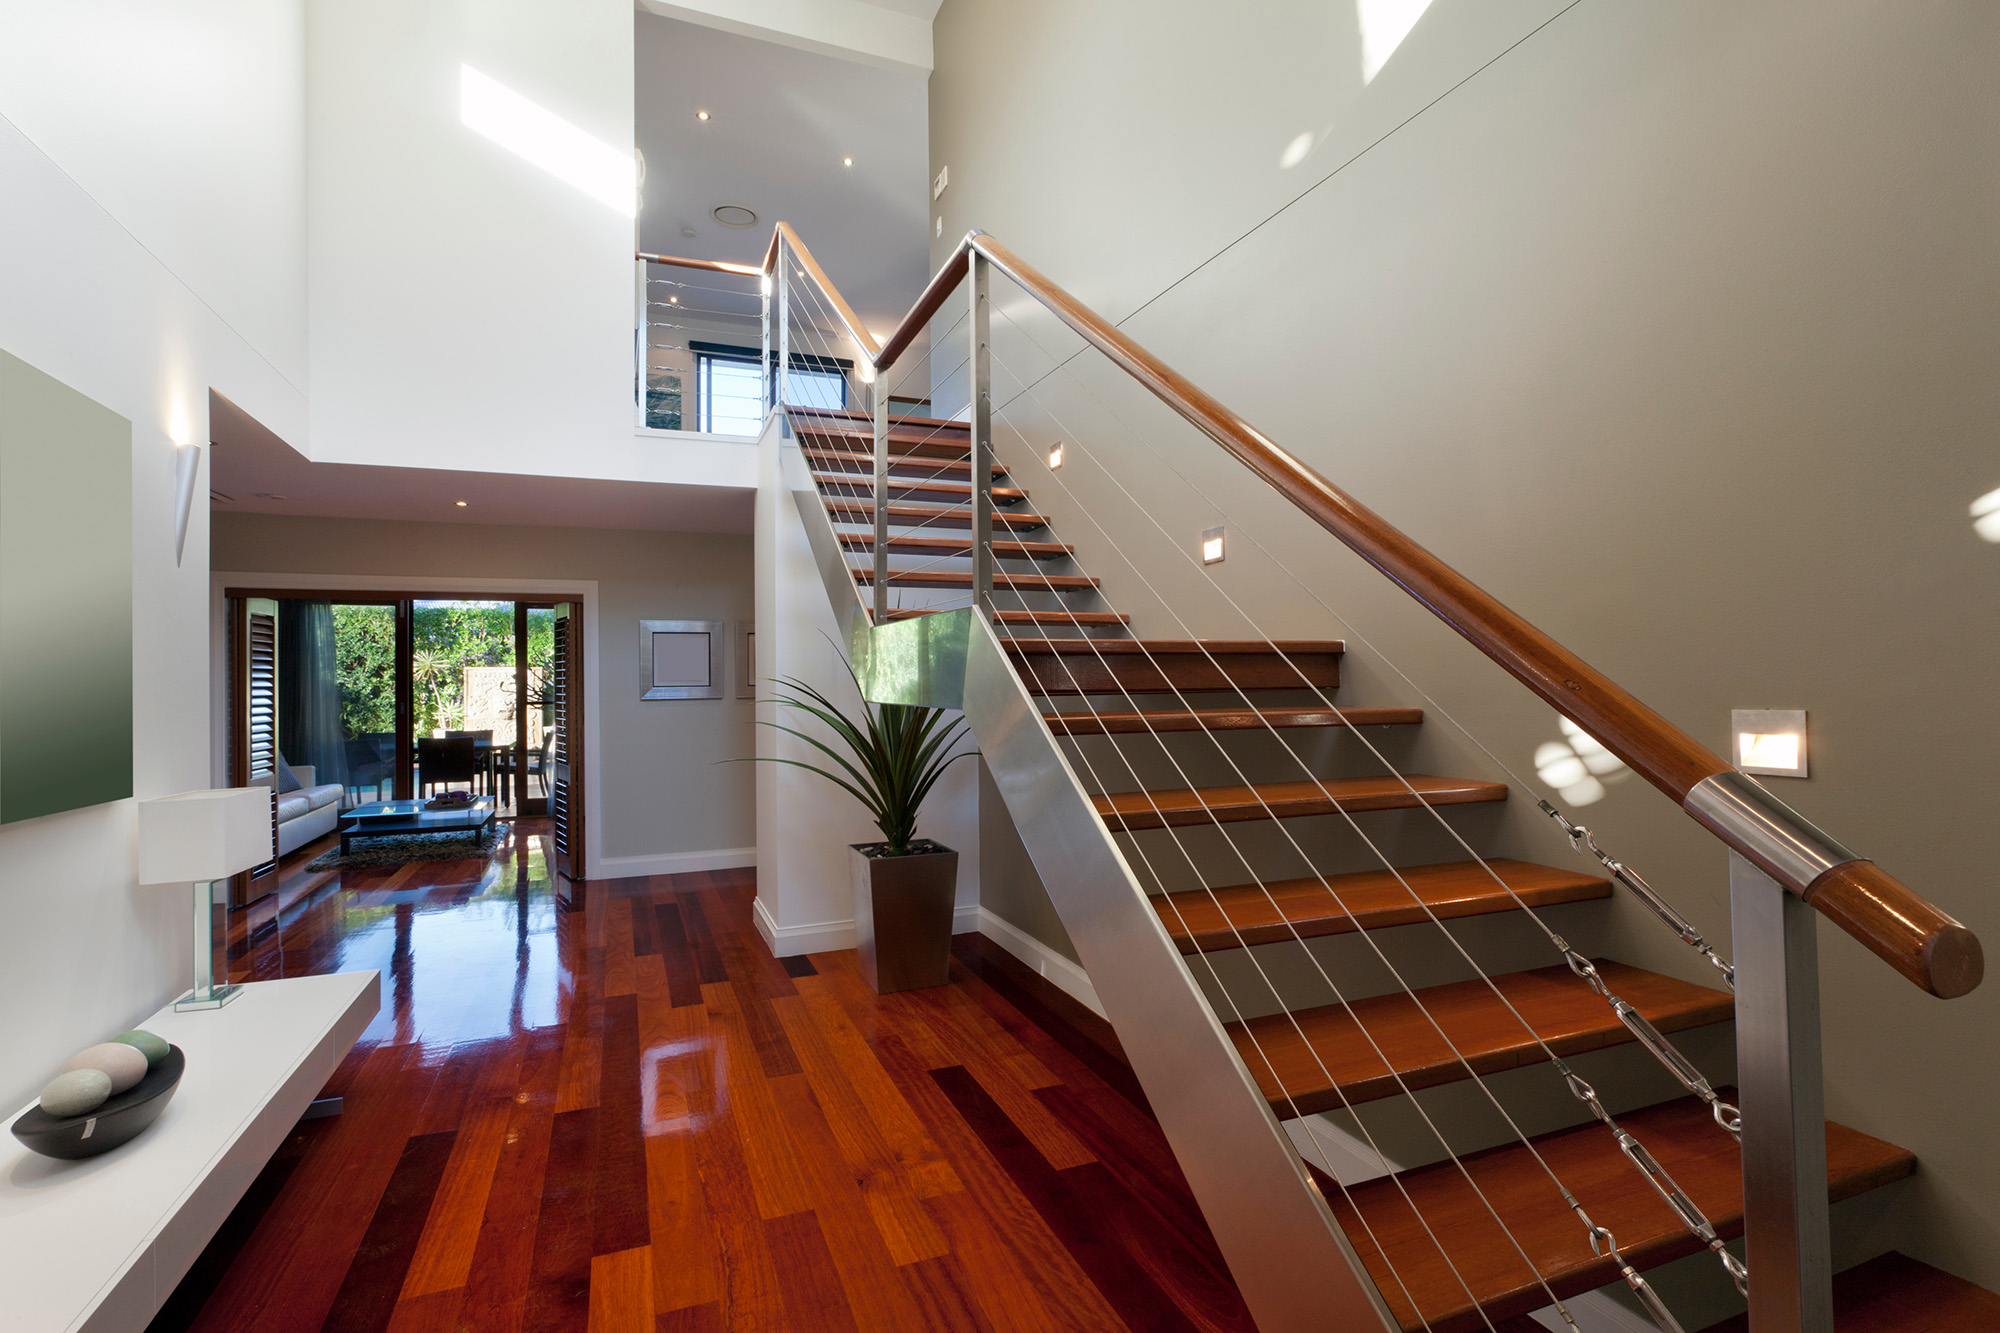
Stairs are the one part of a flooring project that homeowners almost never plan for — and the one part that punishes shortcuts most visibly. A staircase is the vertical spine of a home: it is walked more than any hallway, seen from more angles than any room, and gripped underfoot by everyone from toddlers to grandparents. When new wood or laminate flows through your Upland or Rancho Cucamonga home and simply stops at the bottom step, the eye notices immediately. Done right, matching stairs turn a builder-grade staircase into a piece of furniture. Done wrong, they are a daily reminder that the project was rushed.
This guide covers the stairs question end to end — the anatomy you need to speak the language, the all-important nosing edge, whether to use hardwood or laminate on treads, how to match your stairs to a new floor, and the safety details that matter when a surface is also a fall risk. You will find an interactive stair diagram, a nosing-profile studio, and a grip meter to play with. Stair fabrication and installation is genuine craftsmanship, which is why it is part of our hands-on installation services rather than a DIY afterthought.
Why Stairs Are Their Own Flooring Project
On a flat floor, gravity is your friend: planks lie down and stay put. On a staircase, every plank has to wrap a three-dimensional shape, resist the constant torque of foot traffic pivoting on the edge, and do it while meeting building-code expectations for consistency and safety. A single step is really three surfaces — the flat part you stand on, the vertical face below it, and the front edge that ties them together — and each has to be cut, fit, and fastened precisely. Multiply that by a dozen or more steps, add a landing or a turn, and you have a project with far more cuts, more fitting, and more finish work than an entire average bedroom.
That is why stairs are quoted separately, take real skill, and reward the experience of a seasoned crew. It is also why they are worth doing at the same time as your main floors: the material, the tone, and the transitions can be planned as one coherent design instead of an awkward afterthought bolted on later.
The Anatomy of a Stair, Part by Part
You do not need to be a carpenter to make good stair decisions, but a handful of terms will make every showroom conversation clearer. Tap each part of the staircase to learn what it is and why it matters.
Tread
The horizontal surface you step on. It takes the most wear on the staircase, so tread material and finish are the durability decisions that matter most. Treads are typically thicker and more robust than a plank on a flat floor.
Riser
The vertical face between one tread and the next. Risers are seen constantly but barely touched, which opens a fun design lever: stain them to match the treads for a seamless look, or paint them a contrasting color for a striking, modern staircase.
Nosing
The front edge of the tread that overhangs the riser. It is the single most important detail on the whole staircase — the part your foot lands on, the part that takes the hardest wear, and the part that must meet safety expectations for a consistent, secure edge. More on nosing profiles below.
Stringer
The diagonal structural board running along the side of the staircase that supports the treads and risers. On many staircases the outer stringer skirt is visible and gets a finished, coordinated look; on others it is hidden behind a wall.
Landing
The flat platform at the top of the stairs, or a mid-run resting point where a staircase turns. Landings are usually finished in the same flooring as the connecting rooms, and their transitions to both the stairs and the hallway need to be planned so the handoffs disappear.
The Nosing: The Most Important Edge in the House
If a staircase has a make-or-break detail, it is the nosing — the front lip of each tread. It is where your foot lands on the way down, where the most wear concentrates, and where safety and looks intersect. The profile of that edge changes both the feel of the staircase and how it meets code expectations for a consistent, grippable step. Flip through the common profiles below.
Rounded (bullnose)
The classic, gentle radius most people picture on a staircase. It is comfortable underfoot, forgiving of foot placement, and the most traditional look — a safe, timeless default that suits the majority of homes.
Square (modern)
A crisp, minimally rounded edge that reads clean and contemporary, pairing naturally with today’s wide-plank floors and modern interiors. It keeps a small eased radius for safety and comfort while looking sharp and current.
Overlap lip
A defined overhang where the tread edge projects and returns down over the riser. It creates a strong shadow line and a substantial, crafted look — and it is the profile often used when retrofitting stair caps over an existing staircase.
Hardwood or Laminate on Stairs?
Both hardwood and laminate make excellent staircases, and the choice usually follows the same logic as your main floor — with a couple of stair-specific wrinkles. Hardwood treads are the premium, timeless answer: solid or thick-veneer engineered wood stair treads are beautiful, refinishable, and the natural choice when your main floor is wood and you want the staircase to feel like an extension of it. Because stairs concentrate wear on the nosing, the refinishing ability of real wood is a genuine long-term asset here — a hardwood staircase can be renewed decades from now. Explore wood options in our hardwood collection.
Laminate stairs are the value and durability answer. Because laminate’s hardened wear layer is so scratch and scuff resistant, laminate treads hold up remarkably well to the heaviest traffic and the busiest households, and matching stair-nose profiles let a laminate staircase look clean and coordinated with a laminate floor. The trade-off is that laminate treads cannot be refinished, and the installation requires proper stair-nose molding rather than site-shaped edges. For a busy family staircase paired with a laminate floor, though, it is a smart, hardworking choice — see our laminate collection and the laminate overview.
There is a middle path worth knowing about, too: engineered hardwood treads. Because stairs concentrate wear on the nosing and take real abuse, a thick-veneer engineered tread gives you genuine wood with a bit more dimensional stability than solid — a sensible option on the slab-adjacent landings and split-levels common in our area. Whether you choose solid wood, engineered wood, or laminate treads, the deciding factors are the same three that run through this entire guide: how the staircase needs to match your main floor, how hard your household is on it, and whether refinishing decades from now matters to you.
Matching Stairs to an Existing Floor
The most common stairs project we handle is a matching one: new floors are going into the living spaces, and the staircase needs to look like it belongs to the same home. This is where planning stairs at the same time as the floor pays off. When treads, risers, and nosing are specified alongside the main floor, we can coordinate species, tone, texture, and edge profile so the staircase reads as one continuous design gesture rather than a close-but-not-quite afterthought. Even the classic design choice — stained risers that match the treads for a seamless look, or painted risers for contrast — is easiest to nail when it is decided up front.
A frequent and elegant variation is the wood-tread, carpet-runner combination: hardwood or laminate treads and risers with a soft runner down the center for warmth, quiet, and grip. It is a look that suits both traditional Claremont homes and modern Rancho Cucamonga builds, and it solves the safety-and-comfort question in one move. Audition tones and combinations for your staircase and adjoining rooms with our room visualizer before you commit.
Safety First: Sheen, Grip, and Runners
A staircase is the one flooring surface where slipping has real consequences, so the finish is not just an aesthetic choice — it is a safety one. Two levers control how grippy your stairs feel: the sheen of the finish and whether you add a runner. Play with both below to see how the grip changes.
Grip score: 90 / 100
Matte and low-gloss finishes give the most secure footing on stairs and are our default recommendation for a busy staircase.
Installation: Why Stairs Take Real Skill
Here is the honest reason we treat stairs as a professional job rather than a weekend project: the margin for error is tiny and the consequences of getting it wrong are underfoot every single day. Each tread must be cut to fit a shape that is rarely perfectly square, fastened so it never squeaks or shifts, and finished so the nosing projects consistently across every step — because an inconsistent step height or edge is not just unsightly, it is a genuine trip hazard. Add a turn, a landing, or an open side that needs a finished skirt, and the fitting complexity climbs further.
Both hardwood and laminate stairs use matching stair-nose molding to create that clean, consistent front edge, and both require the treads and risers to be precisely scribed and secured. This is craftsmanship that comes from doing it hundreds of times, and it is exactly the work our installers deliver as part of a coordinated flooring installation. Every stair project, like every floor we install, is backed by our one-year labor warranty plus the manufacturer’s product coverage.
Cost, Timeline, and Getting It Right
Stairs are priced per step because each one is a small fabrication project, so a staircase is a meaningful line item in a whole-home floor — but it is also the line item with the highest visible payoff. The single best way to control both cost and quality is to plan the stairs at the same time as the floor, at the free in-home measure, so the material, tone, and transitions are coordinated from the start and there are no surprises. Our design consultants will lay out the tread material, the riser treatment, the nosing profile, and the safety plan in one conversation.
On budget, the same options that ease a floor purchase apply to the stairs that finish it: 12-months-same-as-cash financing when available spreads the cost comfortably, and if your timeline is tight, ask about quick-ship products. Start the whole thing with a free in-home estimate, where we measure the staircase alongside the rooms and give you one coordinated plan.
Split-Levels, Basements, and the Stairs Nobody Plans For
Inland Empire housing has more staircases than people expect. Beyond the classic two-story, our neighborhoods are full of split-levels and tri-levels — a mid-century favorite across Upland, Ontario, and Claremont — where short flights connect half-stories and a staircase is never more than a few steps away. These homes make the case for planning stairs with the floor even stronger, because the steps are so visible and so frequent that a mismatched staircase stands out in every direction you look. The good news is that short flights are quicker and more affordable to finish than a full two-story run, so bringing them into a flooring project is often easier than homeowners assume.
Landings deserve their own thought in these homes. A split-level landing is a small floor in its own right, usually finished in the same material as the flight or the adjoining room, with transitions on two or three sides that all need to be planned so the handoffs disappear. Whether your stairs rise from a slab-level entry or connect to a raised living area, we measure the landings alongside the flights so the whole vertical journey — step, landing, step — reads as one deliberate design rather than a series of separate decisions.
Open Sides, Skirt Boards, and the Finished Look
Not every staircase hides against a wall. Many homes have an open side — a flight that is visible from the room, its edge exposed rather than tucked behind drywall — and that open side is where stair craftsmanship shows most. A finished skirt board, matching stair-nose returns that wrap the exposed edge, and clean, consistent detailing are what separate a professional stair install from an obvious retrofit. When the treads project past an open stringer, the nosing return is mitered and finished so the end grain is never left raw. These are exactly the details our installers sweat, because they are the ones a guest sees first.
The same principle applies to the balusters and handrail that often share the staircase: while those are a railing decision rather than a flooring one, the flooring team coordinates so the new treads meet the existing railing components cleanly. If your staircase has an exposed, sculptural quality, it is worth treating as the architectural feature it is — and choosing tread material, nosing profile, and finish with that visibility in mind. Bring photos of your staircase to either Upland showroom and we will talk through the finished-edge options.
Frequently Asked Questions
Can you put laminate flooring on stairs?
Should my stairs match my floor exactly?
Are wood stairs slippery?
What is a stair nosing and why does it matter?
Can I refinish laminate or hardwood stairs later?
Do you do stairs near me in the Inland Empire?
Finish Your Floors at the Top of the Stairs
New floors that stop at the bottom step are a project half-finished. Bring your staircase into the plan and the whole home reads as one confident design, from the front door to the top landing. Our family-owned team has been fabricating and installing matching stairs for Inland Empire homes for decades — the work gallery shows the results and the reviews tell the story. Bring the staircase to either Upland showroom or a free in-home visit, and we will make the last dozen steps look as good as the floor they connect.
Match your stairs to your new floor — the detail that makes the whole home look finished.
Request Your Free Estimate


